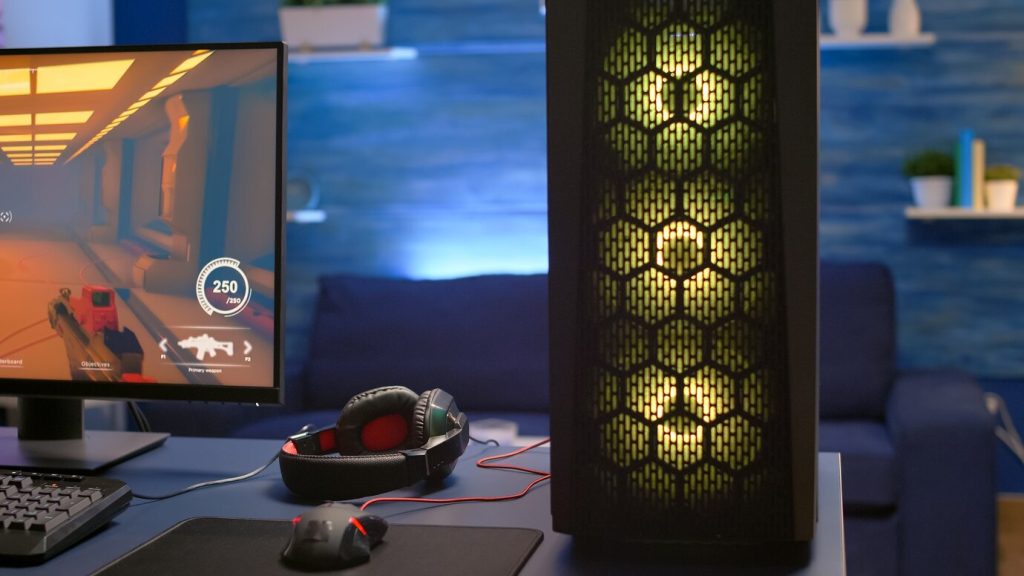
Building your own gaming PC is a rewarding experience that allows you to customize every aspect of your setup for optimal performance and personal preferences. Whether you’re aiming for high-end graphics, fast processing speeds, or a future-proof system, assembling a custom PC gives you control over the components and design. In this step-by-step guide, we’ll walk you through the essential stages of building your dream gaming rig.
1. Choosing the Right Components
The first step in building your gaming PC is selecting the right components. Key parts include:
- CPU (Central Processing Unit): The heart of your PC. Opt for a high-performance processor to handle demanding games and multitasking.
- GPU (Graphics Processing Unit): Essential for rendering high-quality graphics. Choose a powerful GPU for smooth gameplay and detailed visuals.
- RAM (Random Access Memory): Look for at least 16GB of RAM to ensure smooth performance and quick load times.
- Storage: Consider a combination of SSD (Solid State Drive) for fast load times and HDD (Hard Disk Drive) for ample storage space.
2. Selecting the Best Case and Cooling System
The case you choose will determine the size and layout of your build. Look for a case with good airflow and space for your components. When it comes to cooling, you can choose between air and liquid cooling systems. Proper cooling is crucial for maintaining optimal performance and extending the lifespan of your components.
3. Assembling the PC
With your components ready, it’s time to assemble your PC:
- Prepare the Case: Install standoffs in the case to hold the motherboard.
- Install the CPU and RAM: Carefully place the CPU into the motherboard socket and secure it. Insert the RAM into the appropriate slots.
- Mount the Motherboard: Secure the motherboard to the case with screws.
- Install the GPU and Storage: Insert the GPU into the PCIe slot and connect it. Mount your SSD and HDD in their respective slots or trays.
- Connect Power Supply: Connect the power supply to the motherboard, GPU, and other components.
4. Installing the Operating System and Drivers
Once assembled, power on your PC and install your operating system. Windows is a popular choice for gamers. After installing the OS, download and install drivers for your GPU, motherboard, and other components to ensure everything runs smoothly.
5. Testing and Troubleshooting
Test your system by running a few games or benchmark tests to check for performance issues. If you encounter any problems, troubleshoot by checking connections, ensuring components are properly seated, and verifying that all drivers are up to date.

